Showing posts with label lighting. Show all posts

Thursday, September 29, 2011

Drum Pendant is Up, Ya'll!

Finally.  Freakin' finally.  After almost three years of living here, the ug-guh-lay chandelier in the dining room has been replaced.

Remember the drum pendant I got for my birthday?


It arrived! And then it sat there. In the box. For a little too long (see the tremendous box to the right in this photo?):


Oh, and here's a close-up of the sadness that stuck around for too long in our dining room.  Do you see what I'm talking about?  Kind of dated, right? It looked even worse in person.


Back to the replacement.... I was set on the idea of installing this thing ourselves, so I did some Googling and found a great tutorial on This Old House. (Instructions - check).

So we unpacked all the pieces of the pendant and struggled through some really terrible assembly instructions for about an hour.  In an effort to keep up the optimism and momentum, I tried different approaches. "I'm going to read them out loud like it's a story!" "Let's pretend there are no written instructions and see if we can put it together based on the picture. It's like a puzzle! Fun! Yeah!" Eventually, somehow, we managed to assemble something that resembled a real-life lighting fixture.  But it wasn't easy.  ***Pssst... See my update at the bottom of the post.

Next, we turned the power off, Seth removed the old chandelier (manly man doing manly man things@ This is to be encouraged! Grrrr, that is manly!) and revealed some ancient wiring. Dang. Should have known. These old places are full of surprises. Typically, you see two wires: a white wire and a black wire. But we had two white wires. Boo. What does this mean?
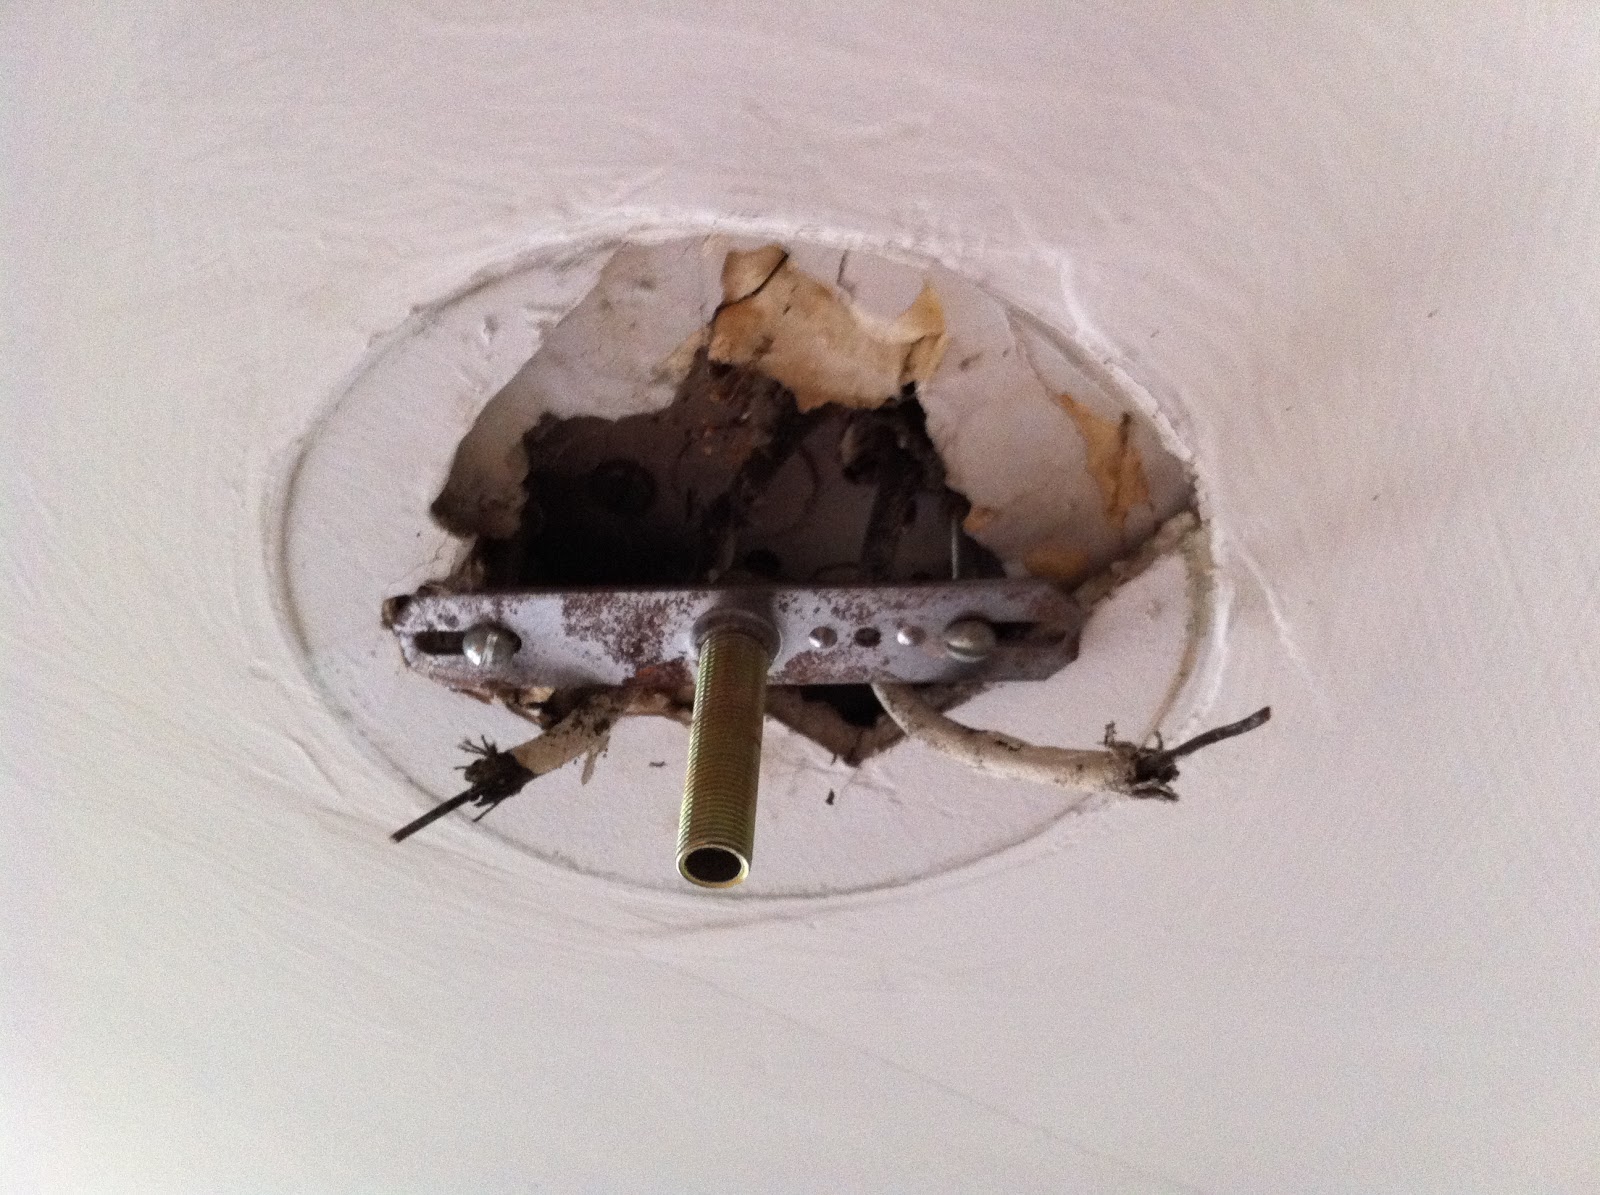

So we didn't know how to connect the wires on the chandelier to those in the ceiling (typically you connect white wires with white wires, and black ones with black ones).  Off to Home Depot.  My plan was to find someone who knew more than I did, and ask them for advice.  I kind of hit the jackpot when I met an electrician who worked part-time ther. He advised me to buy a voltage tester. 

So here's how it works: You pull the wires as far away as possible from each other so you can test them more easily, then turn the power back on and hold this little toy up to each cord.  The switch leg (the black wire) should make the voltage tester light up and beep and stuff, because it's hot.  Naturally, the other one that doesn't beep and light up is the white wire.

It took some adjustment to the sensitivity of the toy (too sensitive and it will light up within a foot of a cord, too little sensitivity and it won't light up at all) but eventually I was able to identify which one was which! Yoo-hoo!
Voltage tester showing us which wire is which.
We turned the power off again and decided to move forward installing the fixture. But not long therafter, regardless of the voltage testing and assembly shananigans, things looked grim.  As we were staring at the hole in the ceiling, comparing it to the photo shown in the instructions, it was getting dark. I realized that with this old place, and with this old hole in the ceiling, we didn't know what we were doing. Don't get me wrong, we could have moved forward and try to figure it out.  But I visualized this fabulous new drum pendant crashing down on the dining room table.  Things would have canon-balled from there. Suddenly craziness all around, et cetera, et cetera.

So we took a time out and called someone.  In that moment, I realized smart do-it-yourself projects means call-them-yourself projects.  And you shouldn't be ashamed.  It's worth a shot. But in the end know your limits and hedge your bets. You can cause more harm than good in these old places! 

While I was at work, Seth asked the electrician to hang the chandelier 32 inches above the table. (I tried it at different heights and this seemed to look best.)


While he was there, he also installed a light in one of our closets (hallelujah!) so it was worth the trip for sure.

Ready for the full reveal?

Ba-BAM!

I'm so hackies it's done. (What? You don't know my secret language? Per Ruby, hackies = happy. This is how I talk, by the way). 

Don't you think it's an improvement?  Any progress in your neck of the woods? Or recent projects?  Any experiences where do-it-yourself turned to dial-it-yourself? Or dealing with super-old buildings? Spill the beans!

Hugs,

Erin

***Update #1: I should have noted that other than those assembly instructions, my experience with Alluminare (the company I purchased our drum pendant from) was exceptional.  From helping me to select the perfect shade of white via email, to working with me so I got the best deal (It went on sale while I was still waiting for the color samples to be delivered. By the time I was 100% sure about the color selection it would have been regular price. So they kindly processed my order with the sale price, but put it on hold so I could confirm the color choice when the samples came in. Yay!)

***Update #2: Apparently they are working on improved assembly instructions!  The kind folks at Alluminare emailed me the following—and even tweeted about it. 

“I just wanted to thank you for your lovely blog post and I am thrilled to see those beautiful photos!...  Wanted to let you know that we're working on some assembly videos to help ameliorate the frustration involved with assembly, and to invite you to send me any details on what frustrated you and Seth the most if you wish to. I am respectful of your time, and I am sorry that we let you down in that regard...  Thank you again. Your taste is impeccable and I am so happy that you came to us."

Great news all around!  Happy customer here!

Tuesday, July 5, 2011

My birthday gift...

We had such a great part of our week at the beach... sun-bathin', eating seafood, opening presents! 

One thing I didn't get to open was my gift from the hubs.  But that's not a complaint. At. All.  For the most part, we don't chance "surprise" gifts around here.  For Christmas and birthdays, we make lists and hope the other pays attention to the other's requests.  There have been several exceptions, of course, but that's how it typically goes.  Here's an idea of how it played out before my birthday:

Him:  What do you want for your birthday?
Me:  I don't know!  I want lots of things.  How much are you willing to spend on your only wife?
Him: Ha-flippin-ha.  What do you want?  
Me:  A lap dance. 
Him: For real, Erin. What do you want?
Me:  I want two things. Number one: a spray painter.   
Him: Hmmm. Okay...
Me: But I REAAAALLY want you to install the new window treatments.  Without complaning. That's what I for-reall-y-want-sies, you big hunk-o-man, you.
 Him: (Sighs, then laughs) Why does it have to involve manual labor?

(days later)

Me:  I want the spray painter, but doesn't it seem like something I would just buy myself? I mean, it's a tool.  Maybe I don't want it as my birthday gift.
Him:  Yeah.  I've been thinking that myself.  So what do you want?  Your birthday is just a few days away.
Me:  I think I want this drum pendant for the dining room.  
Him:  That's kind of a lot for your birthday, considering there's ALSO an entirely separate part of your gift that involves cursing, measuring, and installation.
Me:  But darling, my amazing-balls grandparents just gave me some birthday cash.  So put it towards the light fixture 
(He folds out his hand, I slap the cash in his palm. I jump around squeeling)

So back to the lighting fixture. 

I've considered several styles, but a drum pendant seems to be the best balance between the classic architecture and our modern and constantly-evolving style.

Option 1 (a previous purchase) - CB2 Eden Pendant


I actually purchased the CB2 Eden Pendant a year or so ago.  You can't beat the price at $50.  But it seemed a little too small, so I never installed it.  Just to make sure, I double-checked last week.  Sure enough, the width (just under 20") was too narrow. 

Option 2 - West Elm Short Drum Pendant


The dimensions seem perfect,  and it's also a great deal at $150, but I want a brighter white (more ba-BAM!).  Our walls and curtains are too close to the linen color than I'd like.  Moving on... 

Option 3 - Alluminare Drum Pendant Light

We may have a winner, honey.  Hoping.  It's 24" wide and 10" high.  Seems like a good fit.  We'll see!


Any lighting favorites out there? Anything on your gift-request list this year?  Even if it's awhile away, what would you ask for if it were right now?  

Wednesday, June 29, 2011

It's My Birthday


I'm so happy to spend it with the man I love, at a place we love. He really makes it special. Later this week we're catching up with some good friends.

Until I can post more details, I'll share what Ive asked for as a birthday gift (I told the hubs to hold until I decide for sure).  

A drum pendant for the dining room...

Details later. :)

Monday, March 21, 2011

It's Up! - Chandelier in the Bathroom

If you've been following along, you may remember the tutorial on how to create an antique finish on a chandelier (or most anything else, for that matter). 

Here's a reminder of where we started:

A lonely light bulb.
And what the chandy looked like before:


Of course, then we painted it and it was time to hang-er-up! (Shout-out to my dad for handling the installation... woot-woot!)

The only problems I ran into after hanging it were:
(1) That the tiny holes on the "flower petals" (you'll see those below) closed up with paint.  I spent some took some time on the ladder poking a safety pin through them.  Actually, I couldn't find safety pins at first and had to use my poor Humane Society name tag.  I'll need a replacement.
(2) That one of the hooks for the chandelier beads was missing (manufacturer defect).  Bummer because it was so close to being done!  So I ran to Hobby Lobby and found some little metal pieces in the jewelry section that were the perfect size.  I attached one with some glue and we were good to go!

Tiny metal piece glued to the chandelier.
Enough chit-chat.  It's time for the reveal.  


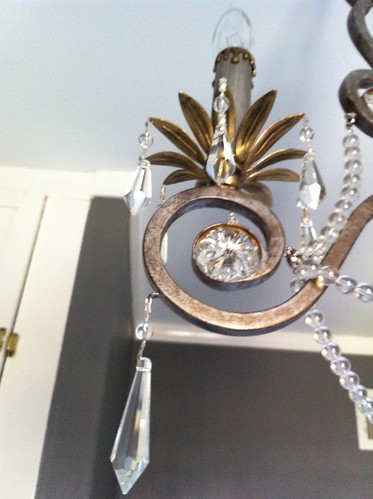
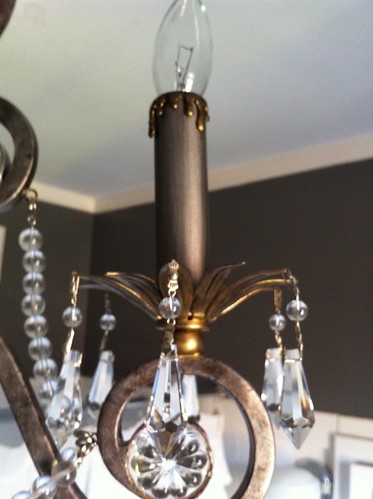
Some detail shots...

chandelier_after4_detail

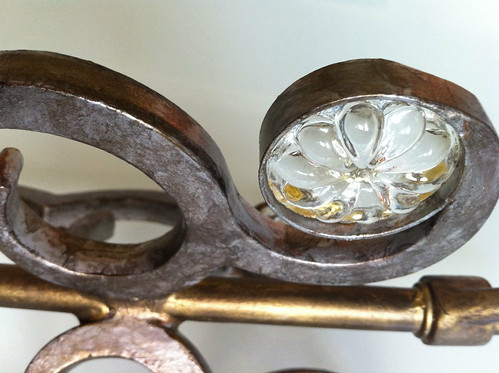
These little crystals remind me of a lamp my grandmother had in her house.  I always thought it was so "fancy" and regal.  So Seth's first impression was actually pretty appropriate: "It's fancy!"

chandelier_after5_detail

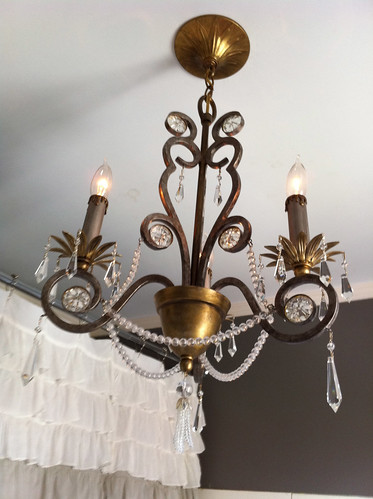
chandelier_after1

I really like the shadow it casts at night.  I totally planned that.  Okay no, that's a lie. But it's a neat surprise, right?


I think it's an improvement from the bare lightbulb... and for a mere $25 plus paint supplies!  What do you guys think?

You may also like:
How to Paint a Chandelier - Antique Finish
It's Done! - Ruffle Shower Curtain, Revised

Monday, February 28, 2011

How to Paint a Chandelier - Antique Finish

This post is a tutorial for anyone who wants to create an antique finish on a chandelier (or anything else, really).  I didn't find many instructions with photos online, so hopefully this will help someone out there.

You may have read that we've been in serious need of a new light fixture in the bathroom.

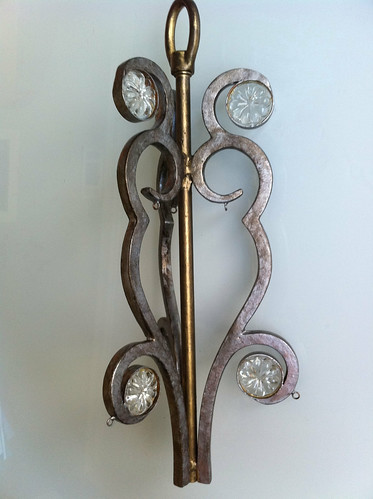
We wanted something that coordinated with our chrome fixtures, added some glamor in our little-bitty bathroom, and had the depth of an authentically aged piece.  I purchased this steal for a mere 25 buckaroos (and it was listed on other sites for around $300... happy dance!).


The crystals were beautiful and the metal was heavy and sturdy, but the finish was very different than the photo online.  Instead, it was a copper-y red finish... not bad, but it would that wouldn’t work in the bathroom.

So I decided to paint this sucker.  Fortunately, my darling mother-in-law has done this kind of thing more than once, so she held my hand at every step.  (And the bonus? It was fun!)

Supplies:
- Chandelier, or something to paint (umm, duh)
- Bronze paint (I used spray paint and painted by hand, but acrylic paint will work)
- Satin nickel / silver paint (Again, I used spray paint, but other paint would work)
- Gold paint (I used a “Gold Metallic Surfacer” that came in a 3-pack with other paints)
- Dark bronze paint  (I used a “Blackened Bronze Metallic Surfacer”, part of said 3-pack)
- Various paint brushes
- Paper towels
- Plastic dishes (to hold your paint)


Supplies to paint a chandelier

Prep
If your chandelier is already assembled, remove the crystals. Use painter’s tape on any glass areas you can’t remove.
Prepping the chandelier for painting.
By the way, see how red the color is?

Step 0 (meaning not always necessary): Paint dark bronze. 
If your chandelier is a really light color, laying a dark base will help to create create a layered, aged look, but in all honesty we probably could have skipped this step since our copper chandelier was dark enough already.

My sweet hubby was running errands while I was chained to a desk at work, so I asked him to pick up some supplies. Since hubs couldn’t find any bronze acrylic paint (and was dying to leave the craft store) he picked up the oil-based spray paint. I sprayed it into a dish, and applied with a small paint brush. But if you can find acrylic paint, I say use it. It’s easier to clean up after all.

Another note: It wouldn’t hurt to use a darker color (oil-rubbed bronze) than I did (bronze).


Step 1: Paint the chandelier your color of choice (gold and silver, in this case)
We decided to paint this chandelier in both gold and silver with a small brush.

Here it is after painting the satin nickel. Notice how some of the bronze paint is showing through just a bit?  That's just fine.
After painting with silver nickel (by hand)

And after the gold:


Step 2: Use blackened bronze paint to create antique finish. 
This step is where the magic happens. And remember (advice from my reassuring MIL) if it doesn’t turn out perfectly, you can just paint on top of your mess-up with gold or silver and start over again.  No big deal!  :)  So try not to be nervous.

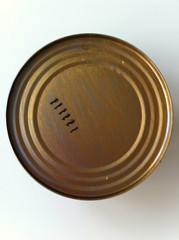
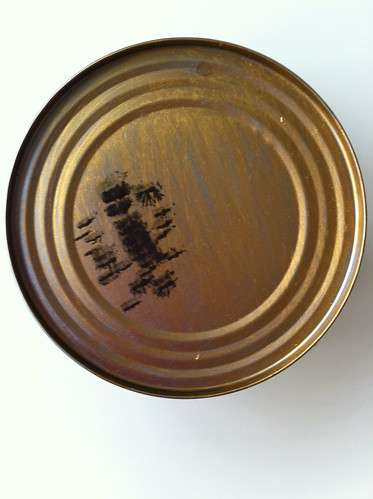
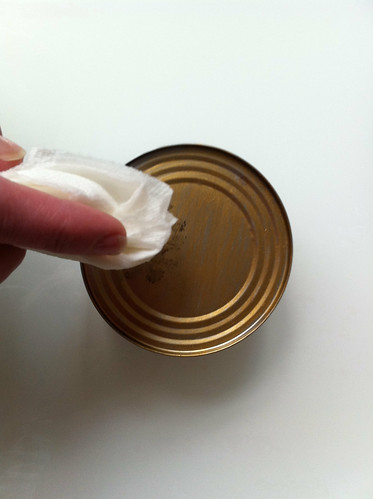
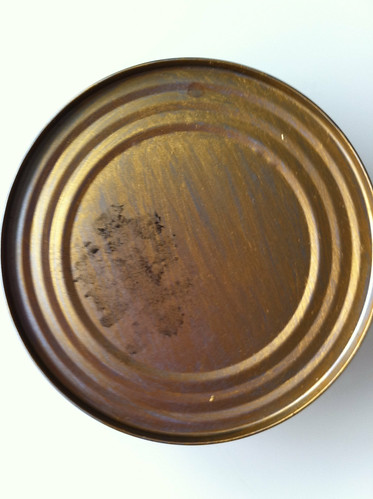
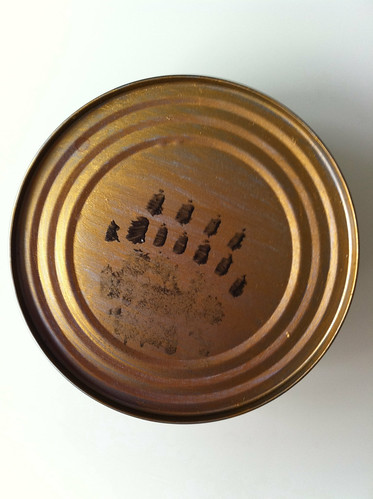
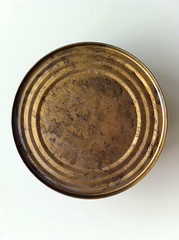
We tested a few techniques on the top of a soup can first.  Here’s the technique that worked best for us (also demonstrated on the top of a can):

2.1  Paint stipples/dots of the blackened bronze paint.  Use your brush to paint little dots in one area.  Side note: our paint was actually called a "blackened bronze metallic surfacer".  Also notice that that we weren’t using oil paint for the bronze paint since it wouldn’t play well with the water on the paper towel. 

Can 2
Can 3

2.2  Blot the area with a damp paper towel.

 Can 4

Can 5

Keep working in sections
Can 6 adding more paint

Can 7 done!


The bronze doesn’t have to be evenly distributed.  In fact, it shouldn’t be.  We actually went back and added some random darker spots, which really helped to achieve the aged look we’re after.

2.3  Use bronze fill any crevices and wipe off the surrounding area with a damp paper towel, leaving the gaps filled with dark paint.  We added a little bit of water to ours for this step, but depending on the consistency of your paint water may not be necessary.


Use watered-down bronze paint on any crevices and wipe off with a damp paper towel (leaving the gaps filled with dark paint). 
A couple more shots:

Chandelier after1

Chandelier after 2 close up


"After" photos of the chandelier hung are coming soon! Thanks again to my MIL for everything.

Has anyone else tried painting a chandelier or creating an antique finish?  What techniques did you find helpful?

You may also like:
It's Up! - Chandelier in the Bathroom

Friday, February 25, 2011

Industrial chic? (Light in the bathroom)

About two years ago I moved in to our place, pushed things around, fretted over all the things I would DIE to change (still doing that, by the way) and rolled my sleeves up on a project or two.

One of the first endeavors was removing a glass-light-thingy from the bathroom ceiling fixture.  I don't have a "before" shot.  Just trust me.  It was ugly.  And I figured (a) it couldn't be any uglier if I removed it (b) by removing the glass-thingy I was forcing myself to actually upgrade really soon, and (c) maybe in the meantime it could pass as "industrial chic".

But here's the thing:  It ain't chic.  It's a light bulb.


And like so many other things, our eyes got used to it. The bare light bulb just sat there.

But gosh-darn, it's time to make some changes around here.

I considered several options:
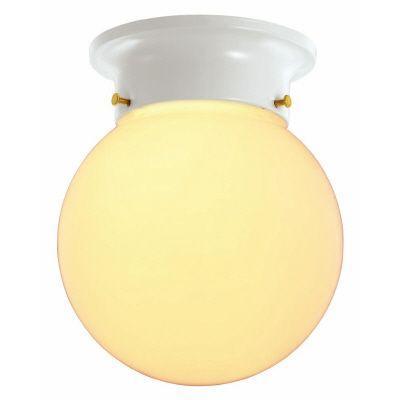
-  Simple flush-mount ceiling light? It would do the job.  It would be cheap.  But it would also be boring.


-  How about a truly industrial light -- like these from West Elm?
West Elm Globe Pendant
West Elm Cluster Glass Pendant

 - Or push the envelope for our little bathroom, and install a plush chandelier?
Image via Apartment Therapy
I think the chandelier wins. Our tiny bathroom can use the glam, and I can only imagine how hard it would be to keep the globe fixtures clean with all the hairspray flying around. I like hairspray, after all.

I'll share the plans for one I purchased (including a new paint job) soon!